
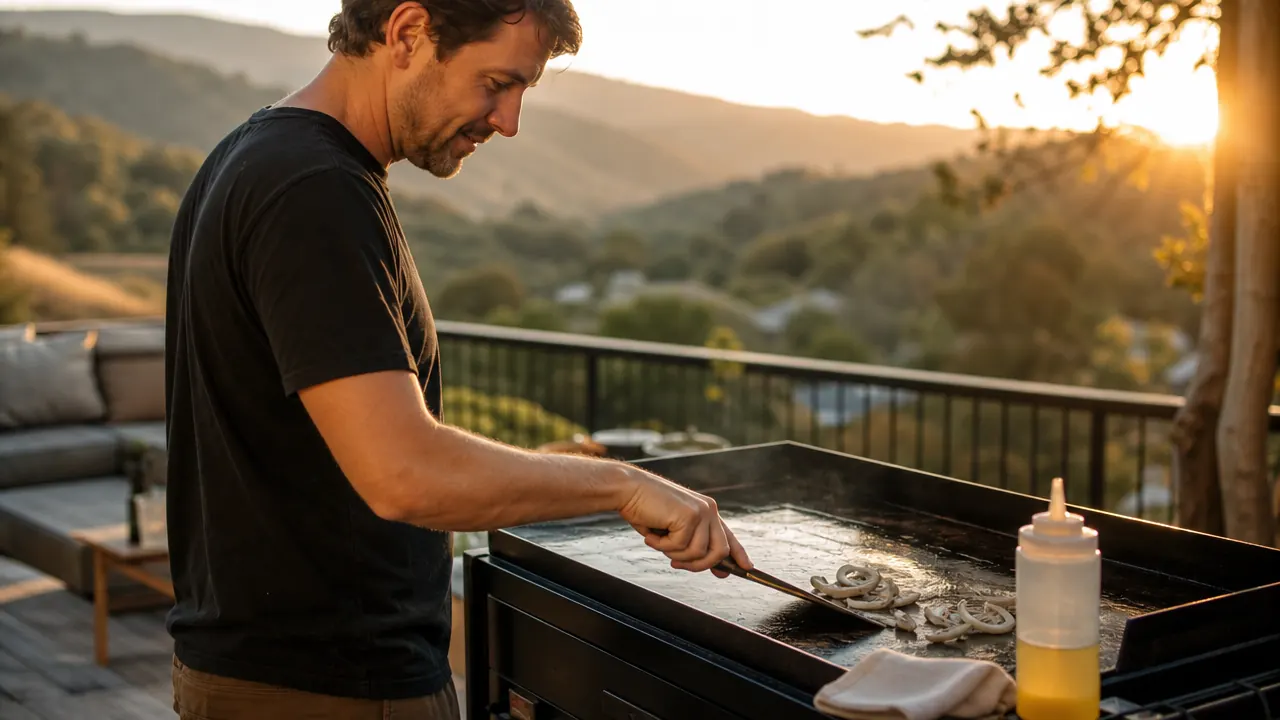
The first time I unboxed a new outdoor griddle, I made the classic beginner mistake. I hosed off the flat top, wiped it dry with a dish towel, and started cooking pancakes for Sofia and Marco before I had done a single proper round of seasoning. Everything stuck. Eggs welded themselves to the steel and I spent longer scraping than I did cooking, while the grandkids waited at the table wondering why breakfast was taking so long. When we added a Blackstone 28 inch griddle to the deck alongside my gas grill and the charcoal kettle I have had for twenty years, I seasoned it the right way from the start, and the difference six months later still surprises people who come over for Sunday breakfast with Bev.
Seasoning a griddle is not optional and it is not the same thing as just oiling it once before dinner. It is a short series of deliberate steps that build a thin, baked-on layer of polymerized oil into the steel itself, and that layer is what actually keeps food from sticking and keeps rust from ever getting a foothold. Skip it, or rush it, and you will be fighting a sticky, splotchy surface for months. Do it properly on day one, and the griddle only gets better the more you cook on it, which is the exact opposite of how most kitchen non-stick coatings behave over time.
Give a new griddle the surface it deserves from cook one
The Blackstone 28 inch Omnivore Griddle has plenty of steel to work with, which makes a proper seasoning routine pay off fast. Get it right before the first burger hits the grate and you will be cooking on a slick, dark surface within a single weekend.
Amazon Check Today's Price on Amazon →Step 1: Wash Off the Factory Coating Before You Do Anything Else
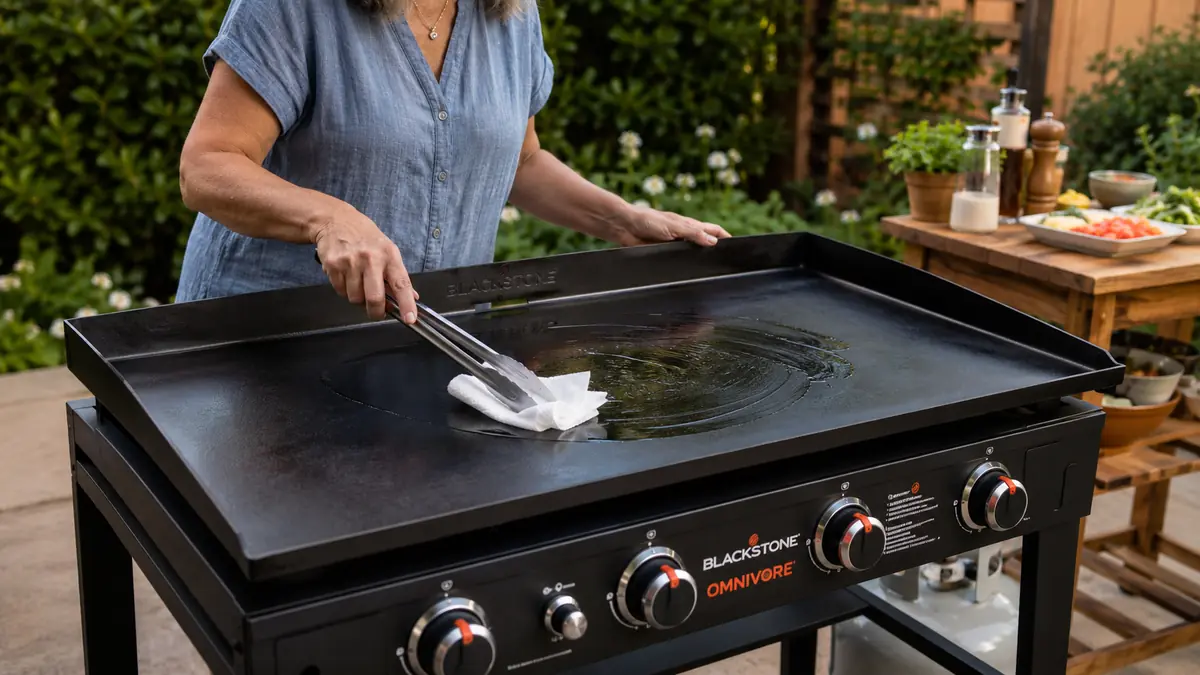
Every new griddle ships with a thin protective coating on the steel, usually a food-grade wax or light oil, meant to keep the surface from rusting on the shipping dock and the store shelf. It looks harmless, but it is not something you want to cook on or season over, because it can leave a slightly metallic taste in your first few meals and it interferes with the oil actually bonding to the steel underneath. Before I even lit the burners on my Blackstone, I scrubbed the whole cooktop with warm soapy water and a non-abrasive scrub pad, working in sections so I could rinse as I went.
This is the only time you will ever use soap on a seasoned griddle, so do not skip it now and also do not make a habit of it later. Get into the corners, the edge near the grease groove, and around any rivets or screws, since that is where factory coating and packing residue like to hide. Rinse thoroughly with clean water afterward, because any leftover soap film will fight with the oil in the next steps and leave you with a patchy, uneven finish. I also give the side shelves and grease cup a quick wipe while I am at it, just so the whole station is clean before oil starts going anywhere.
Step 2: Dry the Surface Completely, Then Dry It Again
Steel and water do not get along, and a griddle straight out of the box is bare, unseasoned steel with nothing protecting it yet. After I rinse mine, I dry it with a clean towel and then set the burners to a low flame for five to ten minutes just to drive off any moisture hiding in the seams around the grease drain or the edges of the cooktop. You want the surface bone dry before a single drop of oil goes on it, since even a small pocket of trapped moisture can undo an otherwise careful seasoning job.
Skipping this step is how people end up with faint rust spots showing through their first seasoning layer within a week. Water trapped under a layer of oil does not evaporate on its own, it just sits there working on the steel from underneath while the surface above looks fine. A few extra minutes of drying now saves you from having to strip and restart a seasoning job later, and it is genuinely the fastest step in the whole process, so there is no good reason to rush past it.
Step 3: Apply a Thin Layer of High Smoke Point Oil
Once the griddle is dry and still slightly warm, pour a small amount of oil onto the cooktop and spread it thin with a folded paper towel or a griddle spatula, working it into every inch of the surface including the edges. The key word here is thin. A thick, glossy pool of oil does not season the steel any faster, it just pools, smokes unevenly, and can turn gummy instead of forming the hard, smooth layer you actually want. If the surface looks wet and shiny after you spread it, go back over it with a dry towel and pull off the excess.
Oil choice matters more than people think. You want something with a high smoke point, since the oil needs to survive real heat without burning off before it bonds. Flaxseed oil, avocado oil, and canola oil all work well for this. I use a plain vegetable oil most of the time on my Blackstone simply because it is what I already have in the pantry and it has a smoke point well above what a typical seasoning round needs. Avoid butter, olive oil, or anything with a low smoke point, since those will smoke and scorch long before the layer sets properly, and they can leave an off flavor behind on your first few cooks.
Step 4: Heat the Griddle Until the Oil Smokes, Then Repeat
This is the step that actually turns oil into seasoning. Crank the burners up to medium-high and let the oiled surface heat until the oil starts to smoke and its sheen changes from wet and glossy to dry and slightly darker. That smoking point is the oil crossing its smoke point and beginning to polymerize, which is the chemical process that bonds it to the steel as a hard, protective layer rather than leaving it as a greasy film that wipes off. Expect real smoke, so this step is strictly an outdoor job with good airflow around the griddle.
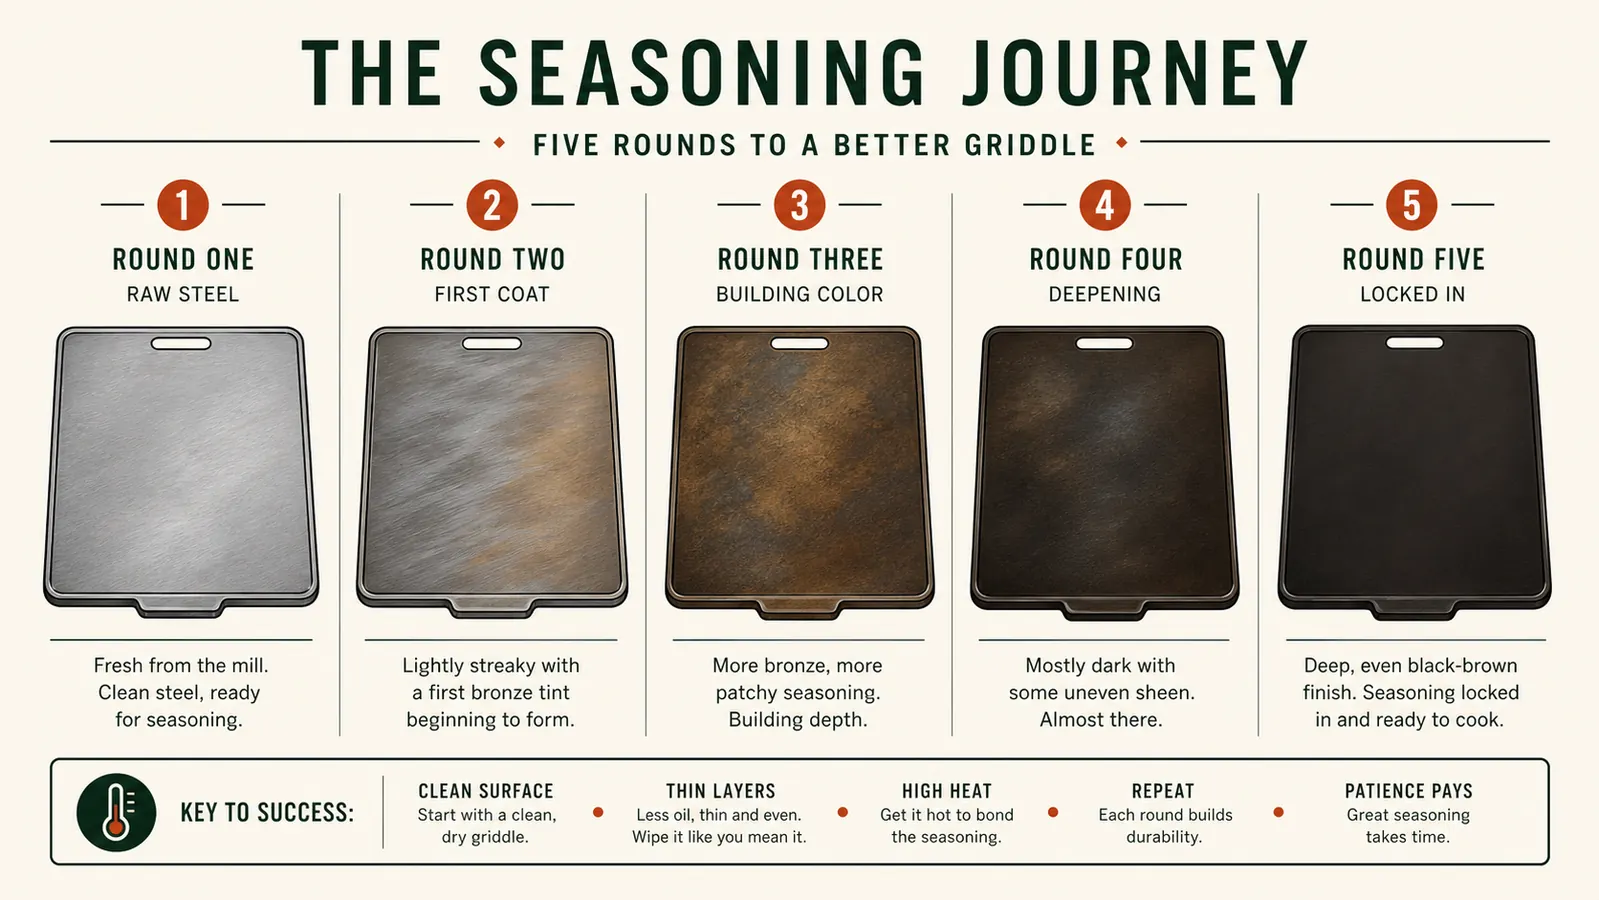
Once the smoking slows and the surface looks dry, turn the burners off, let it cool slightly, wipe on another thin layer of oil, and repeat the whole process. I do at least four full rounds on a brand new griddle, and by the third or fourth pass you will actually see the color of the steel changing, going from raw gray to a streaky bronze and eventually toward a deep, even black-brown. That color change is the visible proof that the seasoning is building, not just sitting on top. If you notice a streaky or blotchy patch after a round, just give that spot one more light coat of oil and one more heating pass before you move on.
Step 5: Cook Something Fatty First, Then Cool and Oil It Before You Walk Away
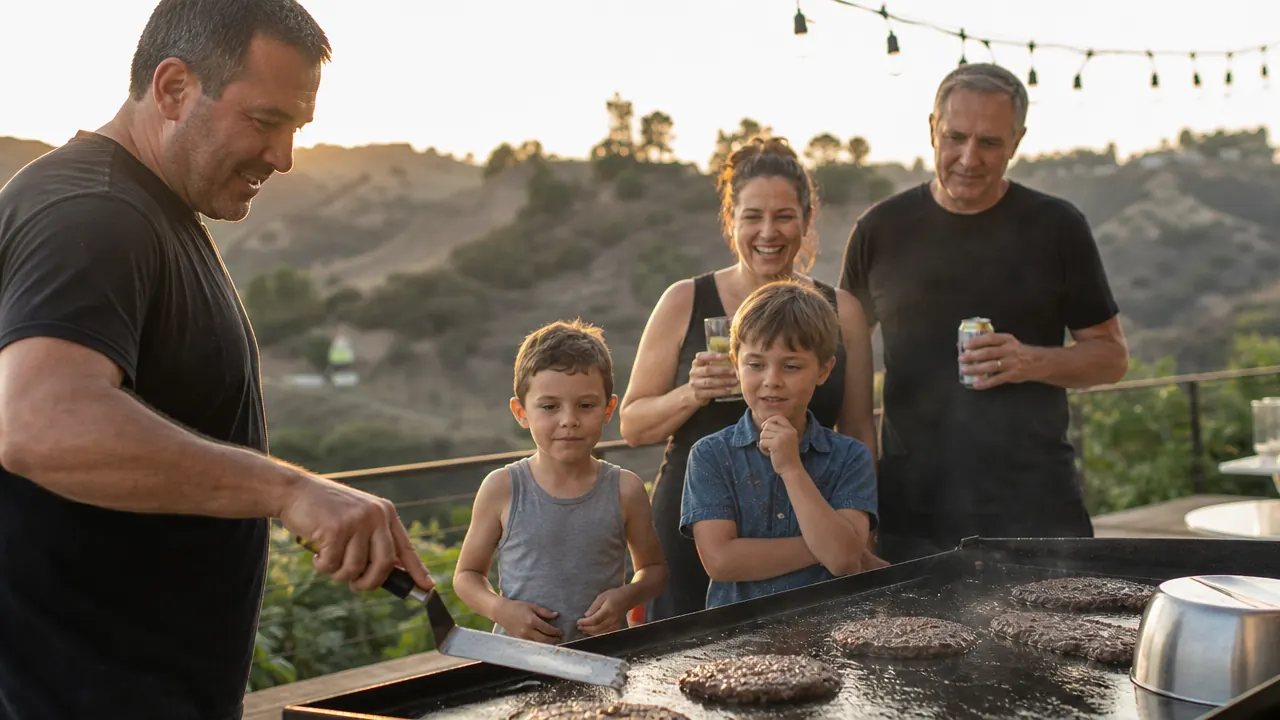
After the initial rounds of oiling and heating, I like to cook something naturally greasy for the first real meal on a new griddle, bacon or ground beef both work great, since the extra fat continues building on top of the seasoning you already laid down. It also gives you an early, low-stakes read on how the surface is releasing food before you commit a full breakfast for the grandkids to it. I save eggs and pancakes for the second or third cook, once I can already feel food sliding around instead of grabbing.
The habit that actually protects a griddle long term happens after the cook, not during it. Once the surface has cooled enough to touch safely, wipe it down and apply one more very thin coat of oil before you cover it or roll it back against the wall. A bare, unprotected griddle left outside overnight, especially up here in the hills where the fog rolls in, is exactly how rust spots start showing up on an otherwise well-seasoned surface. That thirty-second habit after every single cook is worth more than any single big seasoning session, and it is the one step I never let myself skip, even when it is late and everyone has already gone inside.
What Else Helps
A few small habits keep a seasoned griddle in good shape long after the first weekend. I scrape the surface with a metal spatula while it is still warm rather than letting food residue sit and harden, since fresh residue comes off in seconds while dried-on residue can take a chunk of your seasoning with it. If I ever do see a dull or slightly rough patch develop, I just treat that spot to an extra thin coat of oil and a quick pass of heat rather than stripping the whole griddle down. Watching for the early signs, a dry gray patch or the faintest hint of orange, means a five minute touch-up instead of a full re-season later.
A fitted cover matters more than people expect, especially if the griddle lives outside year-round like mine does. I also do a light seasoning refresh at the start of every grilling season, even though the surface has never fully lost its color, just to be safe after months of weather. And Ray, who has zero interest in cooking, is always in charge of the music while I run a seasoning round, since standing over a smoking flat top for twenty minutes goes by a lot faster with something good playing.
If you do spot actual rust, do not panic and do not assume the griddle is ruined. Light surface rust, the kind that looks like a faint orange dust, usually scrubs off with a little water and a scouring pad, after which you just dry the spot completely and run it through another one or two oil-and-heat rounds like the ones above. Deeper rust that has pitted the steel needs a more thorough scrub, sometimes with a bit of fine sandpaper on just that spot, before you start the oiling process over from step three. Either way, rust is almost always a seasoning or storage problem, not a sign the griddle itself is bad, and it is fixable in an afternoon.
A properly seasoned griddle does not start out non-stick, it earns that surface one thin layer of oil at a time.
If you are still weighing which griddle to actually buy before you get to any of this, I put my full experience with the Blackstone 28 inch Omnivore up against my season of everyday use in my long-term Blackstone griddle review, and I compared it directly against a popular rival in my Blackstone versus Camp Chef comparison, including how each one's steel responded to this exact seasoning process.
Start the seasoning process off on the right griddle
The Blackstone 28 inch Omnivore Griddle has a thick, honest slab of cooking steel that takes a seasoning layer beautifully and holds onto it. Follow these five steps on day one and you will be cooking smash burgers and camp breakfasts on a slick, dark surface within a weekend.
Amazon Check Today's Price on Amazon →